Showing posts with label Docker. Show all posts

Sunday, March 20, 2022

Publish docker image to Azure container registry

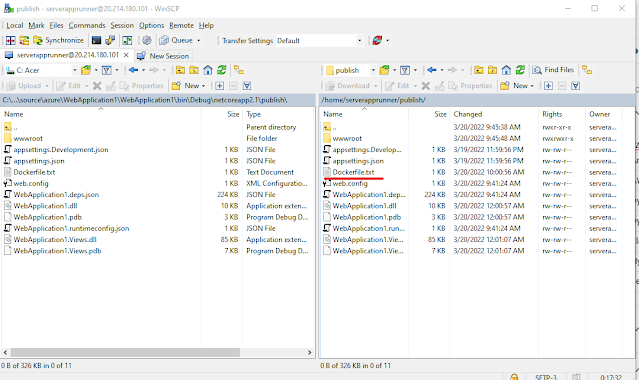
Description: In the previous blog, We  have created Dotnet core application container image and run it. In this topic, We are going to publish that image into Azure container registry for use it for my other team members.

Procedure:

First we are going to create Azure container registry, open the azure portal and navigate to container registry service and click on create. Fill all the details and create it 


Once the registry created take ssh console of docker instance tools to publish image. Run below commands to install azure command line tools.

// Install the Azure command line interface # curl -sL https://packages.microsoft.com/keys/microsoft.asc | \ gpg --dearmor | \ sudo tee /etc/apt/trusted.gpg.d/microsoft.asc.gpg > /dev/null # AZ_REPO=$(lsb_release -cs) echo "deb [arch=amd64] https://packages.microsoft.com/repos/azure-cli/ $AZ_REPO main" | \ sudo tee /etc/apt/sources.list.d/azure-cli.list # apt-get update # apt-get install azure-cli

After install the command line utility Login Azure login using az login command, it will pop up for user login 


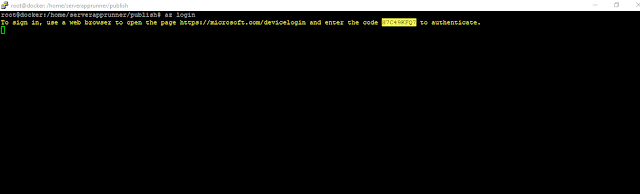
Browse the url https://login.microsoftonline.com/common/oauth2/deviceauth and paste the device code as define above on screen to authorize


Once you login you will get below result on ssh machine


login the azure container registry using below command 

# az acr login --name techserver

Note:  techserver = azure container registry name


Tag the local container image with Azure container registry name

# docker tag techservercoreapp techserver.azurecr.io/techservercoreapp

Push the container image to Azure registry and you will find the image in the container repo list

# docker push techserver.azurecr.io/techservercoreapp


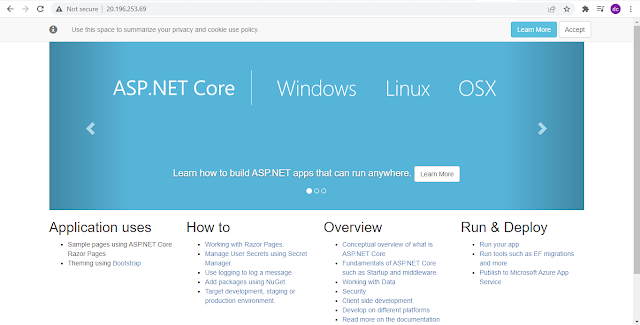
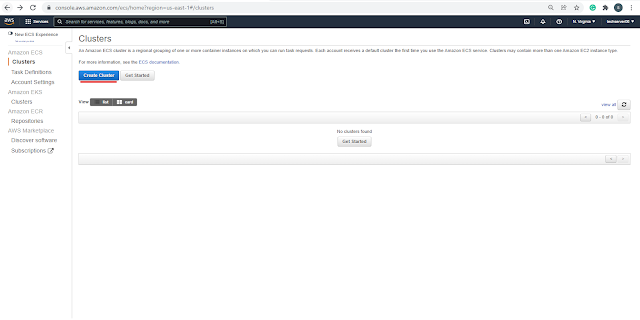
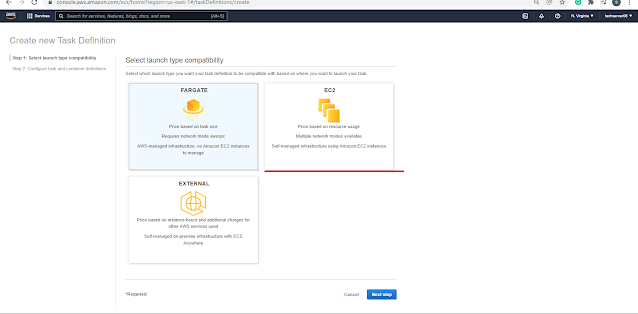
Test the container registry Image: To test the image, now we are going to create container in Azure using above created and uploaded image in azure container registry create it. 


Once the container created browse the Public IP in browser


Publish and Deploy DotNet core application into docker container

Description: Here I have explained, how to deploy sample Dotnet core application into docker container

Prerequisites:

  • Dotnet core sample application
  • Ubuntu machine with Docker engine

Procedure:

First I am going to publish sample Dotnet core application using command prompt from the development machine. Open the source code/ project  path in cmd like follow:


Publish the code using dotnet publish command, It will create publish folder in project path WebApplication1\bin\Debug\netcoreapp2.1\publish


Copy publish folder to the docker server using winscp. After copying publish folder, create the Docker file to create Dotnetcore image and copy it to source code. 

This docker will create image from dotnetcore sdk and publish on port 80 by using WebApplication1.dll 
FROM mcr.microsoft.com/dotnet/core/sdk:2.1 ### sdk url path is depend on your dotnet core version WORKDIR /app COPY . . ENV ASPNETCORE_URLS http://*:80 EXPOSE 80 ENTRYPOINT ["dotnet", "WebApplication1.dll"] ### .dll file for your project in this example it is WebApplication.dll

Upload Dockerfile to publish folder as follow:


After copying files take ssh console of docker instance and navigate to publish folder 


Build the docker image using source code using docker build command to create image with the name of techservercoreapp from publish folder

# cd /home/serverapprunner/publish
# docker build  -t  techservercoreapp . 


Once the image being prepared, you will get in list of docker image as follow:


Run the docker container on port 80 using the techservercoreapp image using below command 

# docker run -td -p 80:80 techservercoreapp


Browse the docker engine IP in browser 


Monday, January 24, 2022

Deploy Docker Container in Azure using Azure CLI

Description: Here I have explained, How to deploy container in Azure using Azure CLI in Windows client machine 

Pre-requisites:

  1. Azure CLI [Download and Install Azure CLI using Link]
  2. Azure Subscription 
  3. Docker Hub install in  Windows Machine [Download and Install using Link]
Run the Docker Container on ACI

  • The first step is to login into Azure using Azure CLI using az login command and it will pop-up for username and password for Azure login
  • Once you log in successfully, it will redirect to CMD 
  • After logging in to Azure, first, we need to create a list of the Azure ACI context using docker context list command
    Note: 
    Docker has the concept of context, it is the place where you can run the docker containers 
  • Create the ACI context using the following

$ docker context create aci servertechaci Here,
servertechaci:
Name of the ACI

  • Once we enter the above command it will ask for the subscription, if there is only one then docker uses it. After that need to select Resource Group 


  • After creating context you can list it and verify 
Run container on ACI: After creating ACI you can run the container using command or using compose file

  • Run container manually: using the below command you can create a container manually
docker --context servertechaci run -d --name web -p 80:80 harpalgohilon/opensource:httpd


Once the container is created successfully, you will receive the container in the list


Also, browse the URL from container Public IP


  • Run container using compose file: Below is the compose file to run apache on port 80 using docker image
  • Create compose file and save as test.yml
version: '3.8' services: apache2: image: harpalgohilon/opensource:httpd ports: - "80:80"
  • Run the compose file using the below command
docker compose -f test.yml up -d


Thursday, December 23, 2021

Create ECS container with EC2 instance using custom docker hub image

Description: Here I have explained, How to cerate container with EC2 instance using docker hub custom image. 

In the previous topic, I have explained to create containers in ECS serverless. In this topic, I will create the container with an EC2 instance.

Open the ECS console and click on Create Cluster


Click on EC2 Linux + Networking and click Next Step


Fill in all the required details and click on create 


After some time container will create as follow
Also, it found in ECS instance under cluster


Create Task Definition for cluster


Select EC2 instance and click on next


Add container 


Fill in all the required details and click on Add


Add storage for additional mount point EFS to mount point 


For additional volume, I have created one EFS and mounted it to the container  as follow


After completion you will find EC2 instance with container 

Create Container in AWS ECS using custom Docker repository without EC2 instance [serverless]

Description: Here I have explained, How to create a Container in AWS ECS using console using Custom Docker image from the Docker repository.

In the previous Blog, I have explained how to create a custom image and upload it to Docker Hub. In this blog, I will use that custom image to create a container in AWS ECS.

Open ECS service and click on Get Started 


Creating custom container definition and edit task definition [if you want more resources]


Once you click on configure it will popup for details that need to fill like public repository and image details. In this example, I have used harpalgohilon/opensource:httpd

harpalgohilon = Docker hub user id 
opensource = Public Repository name
httpd = tag name 
Port = 80 


Also, you can define configuration in the Advance configuration tab like CPU, RAM, Health check, etc ...


Now creating service and cluster after filling all the details and save


At last click on create button 


After clicking on create it will take some time to create the container. After a few moments container will create.


To check the container click on view services and it redirects to the Service dashboard.


Now click on tasks, you will get the list of tasks and its status [Running or Stopped]


Click on tasks it will show you all the details like public, private IP Status, etc...


Now browse the Public IP over browser, it will show the custom page which I have created on the last log


Saturday, December 18, 2021

How to create custom image from running container and upload it to Docker Hub

Description: Here I have explained, How to create a custom image from the running container and upload it to Docker Hub in Public Repository.

Create Base Container: First I am going to create a base container, here I am using httpd container and creating some custom page in the apache path. 

  • Pull httpd image from docker hub and verify after pulling from docker hub

          # docker pull httpd


  • Create a container using httpd image and verify after running the container 

           # docker run  -td httpd


  • After creating the container, Rename the container from a unique name using the docker rename command 

    # docker rename  peaceful_hermann httpd_servertech


  • Add some custom pages on http path in the container. Enter into the container using the below command 
           # docker exec -it httpd_servertech /bin/bash

           # echo "This is test page from servertechnolab" > index.html 

Under the path of /usr/local/apache2/htdocs 

Create Image from Running container: After creating and modifying the container, I am going to create an image from the running container. 

  • First, verify container images using the below command 

          # docker images

  • Commit the container using the below command 
          # docker commit httpd_servertech


  • Tag the image using below command 
           # docker tag 07f49b476db9 httpd_servertech


Push the image to Docker Hub: After creating the image, now I am going to push it to the docker hub

Login to docker hub using below command 

# docker login

It will popup for username and password of docker hub


Commit Docker Image: Commit docker image using docker commit command 

# docker commit -m="This is httpd custom image" httpd_servertech harpalgohilon/opensource

Here,

-m="This is httpd custom image": This is a commit message

httpd_servertech = the name of the container, from which you created the image

harpalgohilon/opensource = Name of the docker hub repository where you want to push the image.


Push the Image to Docker Hub: Now I am going to push the image to docker hub

# docker push harpalgohilon/opensource


After Upload you will get your image under docker repository


Change the Tag of image from latest to httpd

# docker tag harpalgohilon/opensource:latest harpalgohilon/opensource:httpd