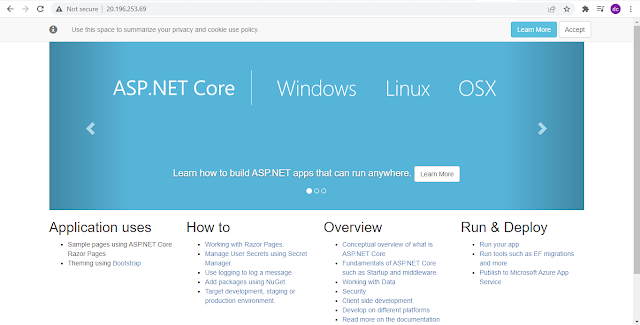
Description: In the previous blog, We have created Dotnet core application container image and run it. In this topic, We are going to publish that image into Azure container registry for use it for my other team members.
Procedure:
First we are going to create Azure container registry, open the azure portal and navigate to container registry service and click on create. Fill all the details and create it
Once the registry created take ssh console of docker instance tools to publish image. Run below commands to install azure command line tools.
// Install the Azure command line interface

# curl -sL https://packages.microsoft.com/keys/microsoft.asc | \
gpg --dearmor | \
sudo tee /etc/apt/trusted.gpg.d/microsoft.asc.gpg > /dev/null

# AZ_REPO=$(lsb_release -cs)
echo "deb [arch=amd64] https://packages.microsoft.com/repos/azure-cli/ $AZ_REPO main" | \
sudo tee /etc/apt/sources.list.d/azure-cli.list

# apt-get update

# apt-get install azure-cli
After install the command line utility Login Azure login using az login command, it will pop up for user login
Browse the url https://login.microsoftonline.com/common/oauth2/deviceauth and paste the device code as define above on screen to authorize
login the azure container registry using below command
# az acr login --name techserver
Note: techserver = azure container registry name
Tag the local container image with Azure container registry name
# docker tag techservercoreapp techserver.azurecr.io/techservercoreapp
Push the container image to Azure registry and you will find the image in the container repo list
# docker push techserver.azurecr.io/techservercoreapp
Test the container registry Image: To test the image, now we are going to create container in Azure using above created and uploaded image in azure container registry create it.


No comments:
Post a Comment