Description: In the previous blog, We have explained how to create a virtual machine in Azure using Terraform. But We have used passwords in plain text. So here We are going to use Azure Key vault in the same script instead of a plain text password.
Create Azure Vault: The first step to create an Azure vault secret for password
Open the key vault service from Azure Portal and create a key vault

Fill in all the required details and create it

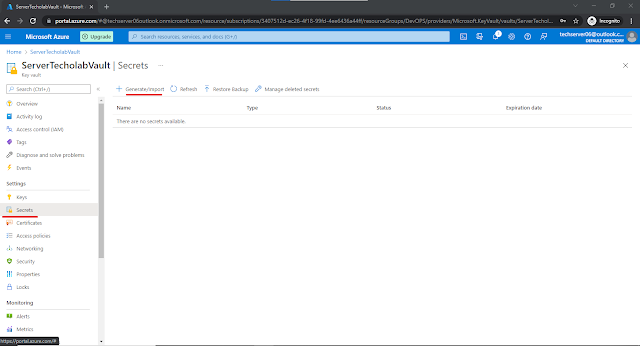

Once the vault is created, create secret for user password. To create a secret open vault then navigate to a secret --> Generate/Import
Create a secret and fill in all the details like secret name, password etc..
Once the vault and secret has been created, we will use them in our terraform project file as follow
data "azurerm_key_vault" "keyvault" {
  name                = "ServerTecholabVault"
  resource_group_name = "DevOPS"
}

data "azurerm_key_vault_secret" "vmsecret" {
  name         = "servertecholabsecret"
  key_vault_id = data.azurerm_key_vault.keyvault.id
}
Here,
Keyvault Name: ServerTecholabVault
Keyvault Name: ServerTecholabVault
SecretName: servertecholabsecret
Also, We need to define in admin_password under OS profile segment as follow:
Also, We need to define in admin_password under OS profile segment as follow:
os_profile {
    computer_name  = "HarryVM"
    admin_username = "serverapprunner"
    admin_password = "data.azurerm_key_vault_secret.vmsecret.value"
  }
Here is the Full combine file to create VM including password vault and secret configuration
variable "storage_account_name" {
    type=string
    default="serverstorage"
}

variable "network_name" {
    type=string
    default="testnetwork"
}

variable "vm_name" {
    type=string
    default="ServerTechVM"
}

provider "azurerm"{
version = "=2.0"
subscription_id = "XXXX-XXXXX-XXXXX-XXXXX-XXXX-XXXXXX"
tenant_id       = "XXXX-XXXXX-XXXXX-XXXXX-XXXX-XXXXXX"
features {}
}

data "azurerm_key_vault" "keyvault" {
  name                = "ServerTecholabKeyVault"
  resource_group_name = "DevOPS"
}

data "azurerm_key_vault_secret" "vmsecret" {
  name         = "servertecholabsecret"
  key_vault_id = data.azurerm_key_vault.keyvault.id
}

resource "azurerm_virtual_network" "staging" {
  name                = var.network_name
  address_space       = ["10.0.0.0/16"]
  location            = "East US"
  resource_group_name = "DevOPS"
}

resource "azurerm_subnet" "default" {
  name                 = "default"
  resource_group_name  = "DevOPS"
  virtual_network_name = azurerm_virtual_network.staging.name
  address_prefix     = "10.0.0.0/24"
}

resource   "azurerm_public_ip"   "myvm1publicip"   {
   name   =   "pip1"
   location   =   "East US"
   resource_group_name   =   "DevOPS"
   allocation_method   =   "Dynamic"
   sku   =   "Basic"
 }

resource "azurerm_network_interface" "interface" {
  name                = "default-interface"
  location            = "East US"
  resource_group_name = "DevOPS"

  ip_configuration {
    name                          = "interfaceconfiguration"
    subnet_id                     = azurerm_subnet.default.id
    private_ip_address_allocation = "Dynamic"
    public_ip_address_id          = azurerm_public_ip.myvm1publicip.id
  }
}

resource "azurerm_virtual_machine" "vm" {
  name                  = var.vm_name
  location              = "East US"
  resource_group_name   = "DevOPS"
  network_interface_ids = [azurerm_network_interface.interface.id]
  vm_size               = "Standard_DS1_v2"

  storage_image_reference {
    publisher = "Canonical"
    offer     = "UbuntuServer"
    sku       = "18.04-LTS"
    version   = "latest"
  }
  storage_os_disk {
    name              = "osdisk1"
    caching           = "ReadWrite"
    create_option     = "FromImage"
    managed_disk_type = "Standard_LRS"
  }
  os_profile {
    computer_name  = "HarryVM"
    admin_username = "serverapprunner"
    admin_password = data.azurerm_key_vault_secret.vmsecret.value
  }
  os_profile_linux_config {
    disable_password_authentication = false
  }
}
After creating file run terraform init then terraform plan and terrafom apply commands to create Virtual machine. You will find all the resources as follow

Also verify by login using same credentials which defines in Password Vault

No comments:
Post a Comment