Description: In this tutorial, I have explained how to setup SonarQube on Ubuntu 22 and integrate it with GitHub
SonarQube: SonarQube is an open-source tool for code quality analysis. It can scan source code for potential bugs and vulnerabilities and generates a report which allows you to identify issues.
Prerequisites:
- Ubuntu 22 with atlease 2 GB RAM and one CPU
- User with sudo rights
- Domain name to access the server using name
- JDK
- Postgres
Install Open JDK
Install Open JDK 11
# apt-get install openjdk-11-jdk -y

Verify the JDK version
# java --version
Configure System for Sonarqube and PostgreSQL
Open /etc/sysctl.conf and add the below configuration
vm.max_map_count=262144
fs.file-max=65536
ulimit -n 65536
ulimit -u 4096
After add above configuration reboot the server
Install and configure PostgreSQL
Setup PostgreSQL by following the below steps
sudo apt update -y
sudo sh -c 'echo "deb http://apt.postgresql.org/pub/repos/apt/ `lsb_release -cs`-pgdg main" >> /etc/apt/sources.list.d/pgdg.list'
wget -q https://www.postgresql.org/media/keys/ACCC4CF8.asc -O - | sudo apt-key add -
sudo apt install postgresql postgresql-contrib -y
sudo systemctl enable postgresql
sudo systemctl start postgresql
Configure PostgreSQL user and database
We are setting up the user and database for Sonarqube
sudo passwd postgres
su - postgres
createuser sonar
psql
ALTER USER sonar WITH ENCRYPTED password '';
CREATE DATABASE sonarqube OWNER sonar;
GRANT ALL PRIVILEGES ON DATABASE sonarqube to sonar;
\q
exit
Install and configure SonarQube
After setting up all the above things, now install and configure SonarQube. Follow below steps to install the same
sudo wget https://binaries.sonarsource.com/Distribution/sonarqube/sonarqube-9.8.0.63668.zip
sudo unzip sonarqube-9.8.0.63668.zip
sudo mv sonarqube-9.8.0.63668 /opt/sonarqube
sudo groupadd sonar
sudo useradd -d /opt/sonarqube -g sonar sonar
sudo chown sonar:sonar /opt/sonarqube -R
cd /opt/sonarqube/extensions/pluginssudo wget https://github.com/mc1arke/sonarqube-community-branch-plugin/releases/download/1.14.0/sonarqube-community-branch-plugin-1.14.0.jar
Configure SonarQube properties
Open the sonar.properties file and update the configuration as follow in /opt/sonarqube/conf/sonar.properties
sonar.jdbc.username=sonar sonar.jdbc.password=sonar.jdbc.url=jdbc:postgresql://localhost:5432/sonarqube sonar.web.javaAdditionalOpts=-javaagent:/opt/sonarqube/extensions/plugins/sonarqube-community-branch-plugin-1.14.0.jar=web sonar.ce.javaAdditionalOpts=-javaagent:/opt/sonarqube/extensions/plugins/sonarqube-community-branch-plugin-1.14.0.jar=ce sonar.web.host=0.0.0.0 ### if you want to access the sonar using external ip using port number
Setup SonarQube service: Create the service file for sonarqube under /etc/systemd/system and add below content on service file
# vi /etc/systemd/system/sonar.service
[Unit]

Description=SonarQube service
After=syslog.target network.target

[Service]
Type=forking


ExecStart=/opt/sonarqube/bin/linux-x86-64/sonar.sh start
ExecStop=/opt/sonarqube/bin/linux-x86-64/sonar.sh stop


User=sonar
Group=sonar
Restart=always
LimitNOFILE=65536
LimitNPROC=4096


[Install]
WantedBy=multi-user.target
# systemctl daemon-reload
# systemctl start sonar
# systemctl status sonar
After performing all the tasks try to browse the URL using port 9000
i.e : http://54.86.47.253:9000/
Default username and password
Username: admin
Password: admin
After first login it ask to change the password
We have setup the plugins so it shows warning for same so we can ignore it
Setup Nginx to access the URL with domain name and with SSL
Install and configure Nginx with SSL
Install dependencies
# apt install curl gnupg2 ca-certificates lsb-release ubuntu-keyring -y

Import Nginx GPG signing key
# curl https://nginx.org/keys/nginx_signing.key | gpg --dearmor \ | sudo tee /usr/share/keyrings/nginx-archive-keyring.gpg >/dev/null

Add Nginx stable repository
# echo "deb [signed-by=/usr/share/keyrings/nginx-archive-keyring.gpg arch=amd64]  http://nginx.org/packages/ubuntu `lsb_release -cs` nginx" | sudo tee /etc/apt/sources.list.d/nginx.list

Update the package repository
# apt update

Install nginx
# apt install nginx

Start nginx service
# systemctl start nginx
Install SSL for Web and generate the ssl for domain
# snap install core; sudo snap refresh core
# apt remove certbot
# snap install --classic certbot
# ln -s /snap/bin/certbot /usr/bin/certbot
# certbot certonly --nginx --agree-tos --no-eff-email --staple-ocsp --preferred-challenges http -m Email_id -d sonarqube.techservergloabal.shop
Create Nginx configuration for domain under /etc/nginx/conf.d location and paste the configuration
# vi /etc/nginx/conf.d/sonar.conf
server {
    listen 80 default_server;
    server_name sonarqube.techservergloabal.shop;
    return 301 https://$server_name$request_uri;

}

server {
    listen 443 ssl http2;
    server_name sonarqube.techservergloabal.shop;
    http2_push_preload on; # Enable HTTP/2 Server Push

    ssl_certificate /etc/letsencrypt/live/sonarqube.techservergloabal.shop/fullchain.pem;
    ssl_certificate_key /etc/letsencrypt/live/sonarqube.techservergloabal.shop/privkey.pem;
    ssl_trusted_certificate /etc/letsencrypt/live/sonarqube.techservergloabal.shop/chain.pem;
    ssl_session_timeout 1d;
    ssl_protocols TLSv1.2 TLSv1.3;
    ssl_ciphers 'ECDHE-ECDSA-AES256-GCM-SHA384:ECDHE-RSA-AES256-GCM-SHA384:ECDHE-ECDSA-CHACHA20-POLY1305:ECDHE-RSA-CHACHA20-POLY1305:ECDHE-ECDSA-AES256-SHA384:ECDHE-RSA-AES256-SHA384';
    ssl_prefer_server_ciphers on;
    ssl_session_cache shared:SSL:50m;
    ssl_stapling on;
    ssl_stapling_verify on;


    access_log /var/log/nginx/sonarqube.access.log main;
    error_log  /var/log/nginx/sonarqube.error.log;

    location / {
        proxy_set_header Connection "";
        proxy_set_header Host $http_host;
        proxy_set_header X-Real-IP $remote_addr;
        proxy_set_header X-Forwarded-For $proxy_add_x_forwarded_for;
        proxy_set_header X-Forwarded-Proto $scheme;
        proxy_http_version 1.1;
        proxy_pass http://127.0.0.1:9000;
    }

}
After apply all the settings, Kindly restart the nginx and validate by browse the page
i.e https://sonarqube.techservergloabal.shop/
Integrate SonarQube with GitHub:
Create GitHub App: To create the GitHub App open the settings on your account and navigate to Developer Setting, click on Create New GitHub App
Fill the below details on form
Github App Name: sonarqube
Homepage URL : https://sonarqube.techservergloabal.shop/
Permissions: For permission check the URL
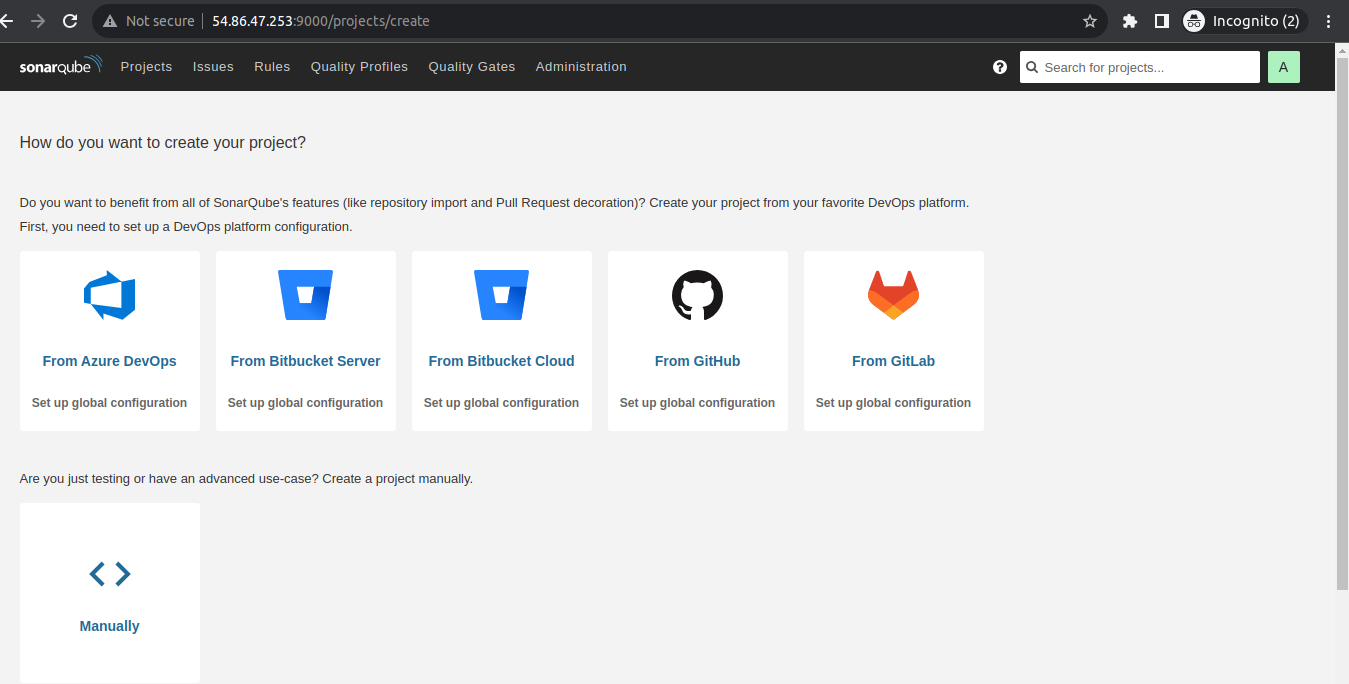
After create GitHub App navigate to Sonarqube console and click on from GitHub
Fill all the required details as follow
Configuration Name:
GitHub API URL: https://api.github.com/
Client ID: You can find from the GitHub App page in github.com
GitHub API URL: https://api.github.com/
Client ID: You can find from the GitHub App page in github.com
Client Secret: Generate from the GitHub
Callback URL: https://sonarqube.techservergloabal.shop
Private Key : Generate private key from the GitHub Apps
Private Key : Generate private key from the GitHub Apps
Here, I have use With GitHub Action and add the workflow and secrets with GitHub. After fill all the requirement, repository is started wit sonar scan and it shows output as follow


No comments:
Post a Comment